
Portfolio Company
Amortization Schedule Setup
This panel
allows you to generate an automated Amortization schedule for the loan or bond instruments.
Generate AS
To
generate an Amortization Schedule, follow the below steps:
1. Click on
the Select Instrument dropdown list,
and select a Loan instrument.

2. Click on Generate AS button on top of the panel.

3. A new
window is displayed. Choose an option from the dropdown list- Automated or
Manual. Click Download.
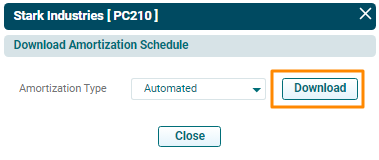
4. The excel file will download. This excel file contains a template of the Amortization Schedule, wherein you can make the necessary changes in the sheet by enabling editing.
5. Amendments should be done by keeping the following points in mind:
- In Parameter Section:
- Values of Parameters can be changed.
- Renaming and Addition of rows cannot be done.
- Repayment Table:
- Addition of a new row is possible. If adding a new row, select relevant cells of previous row and next row, and update the formulas manually.
- Additional Transactions can be added by adding a new column, using a pre-defined list of transaction types available in the dropdown.
- Change in dates, values such as interest repayment, principal repayment (which are getting calculated) can be done manually or by updating formulas.
6. Validate the Amortization Schedule sheet after making the required changes. To
validate the AS, change the AS Validated? field to Yes in excel.
7. Save the
file.
Import AS
To upload
an Amortization Schedule, follow the below steps:
1. Click on Import AS button on top of the panel.

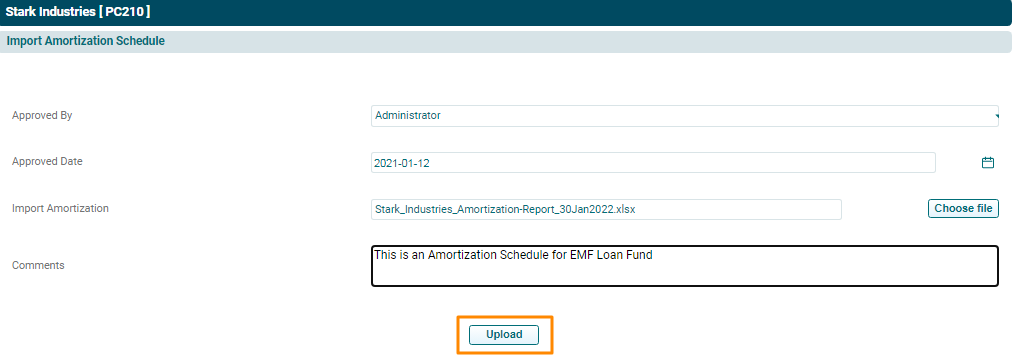
2. The Import
Amortization Schedule window is displayed. Specify the details.
3. Click Choose File button. Choose the excel file
containing the AS.
4. Click Upload.
6. The Amortization
Schedule shall be populated based on the file uploaded.
