
System Administration
Groups
A Group is a combination of different
classes within an organization. It is a team of people who share same set of
records.
When records are assigned to a group,
all members associated with the group can perform operations on the record.
This will help your users to work together as a team. For instance, If a
support team member is on leave for the day, there is a chance that trouble
ticket (case) assigned to him will not be resolved in time. Should the ticket
be assigned to a group, all members associated to the group will get email
notification and any one can handle the issue.
A group supports following combinations
- Users : Selected users will be
part of the group
- Roles: All users associated with a role
will be part of the group
- Roles and subordinates : All users
associated with the role, and its subordinates will be part of the group
- Group: All users associated with
selected group will be part of the group
Notes: Groups
will also help you to define custom sharing rules. You can define data sharing
rules to make a certain role, role and subordinates, or a group view records of
another role, role and subordinates, or a group.
Add A Group
To add a group, follow the below steps:
1. Click on CRM
Settings icon ( ) in the top right corner of the panel.
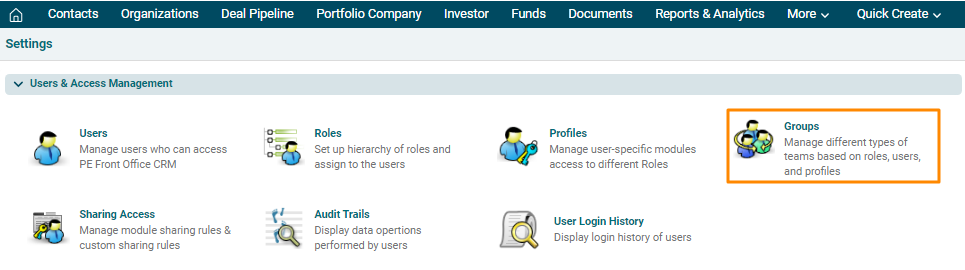
2. In the Users
and Access Management panel, click on Groups.

3. A list of groups will be displayed. Click on New Group button in the top right corner of the panel.

4. The New Group window is displayed. Update the details and click Save.

Edit A Group
To edit a group, follow the below steps:
1. Click on CRM
Settings icon ( ) in the top right corner.
2. In the Users and Access Management panel, click on Groups.

3. A list of groups will
be displayed. Click on Edit ( ) icon in the Tools Column.
4. Update the details and
click Save.

Delete A Group
To delete a group, follow
the below steps:
1. Click on CRM
Settings icon ( ) in the top right corner.
2. In the Users and Access Management panel, click on Groups.
3. A list of groups will
be displayed. Click on Delete ( ) icon in the Tools Column.
4. You will be prompted
to transfer the ownership to another user. Choose a user from the dropdown and
click Save.
